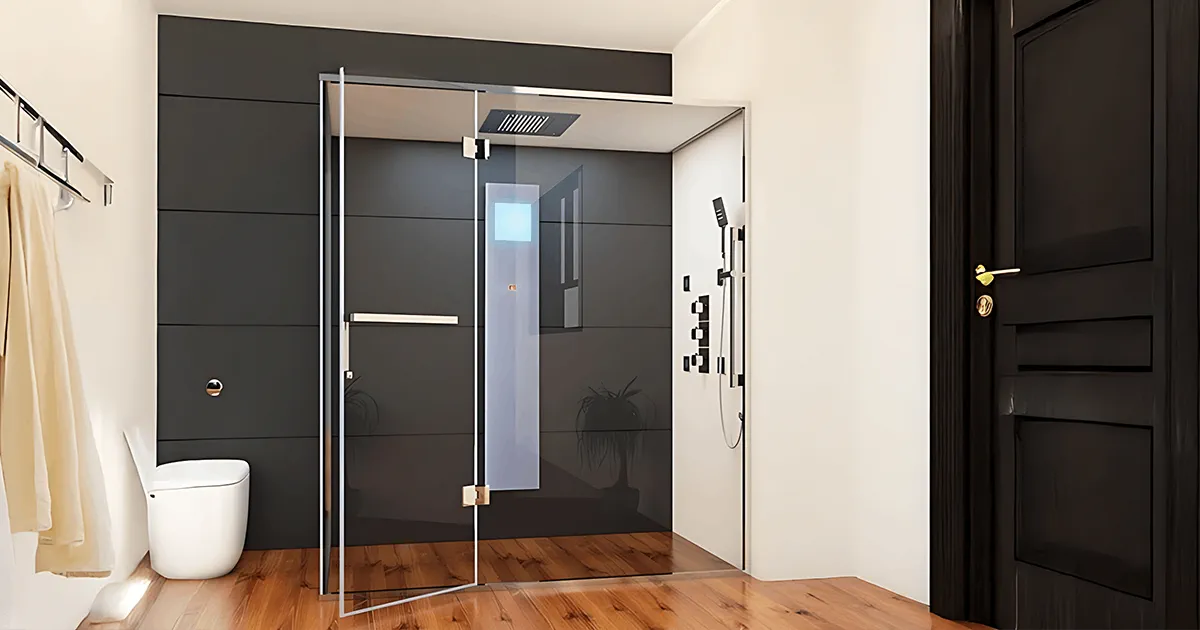
Frameless appearance
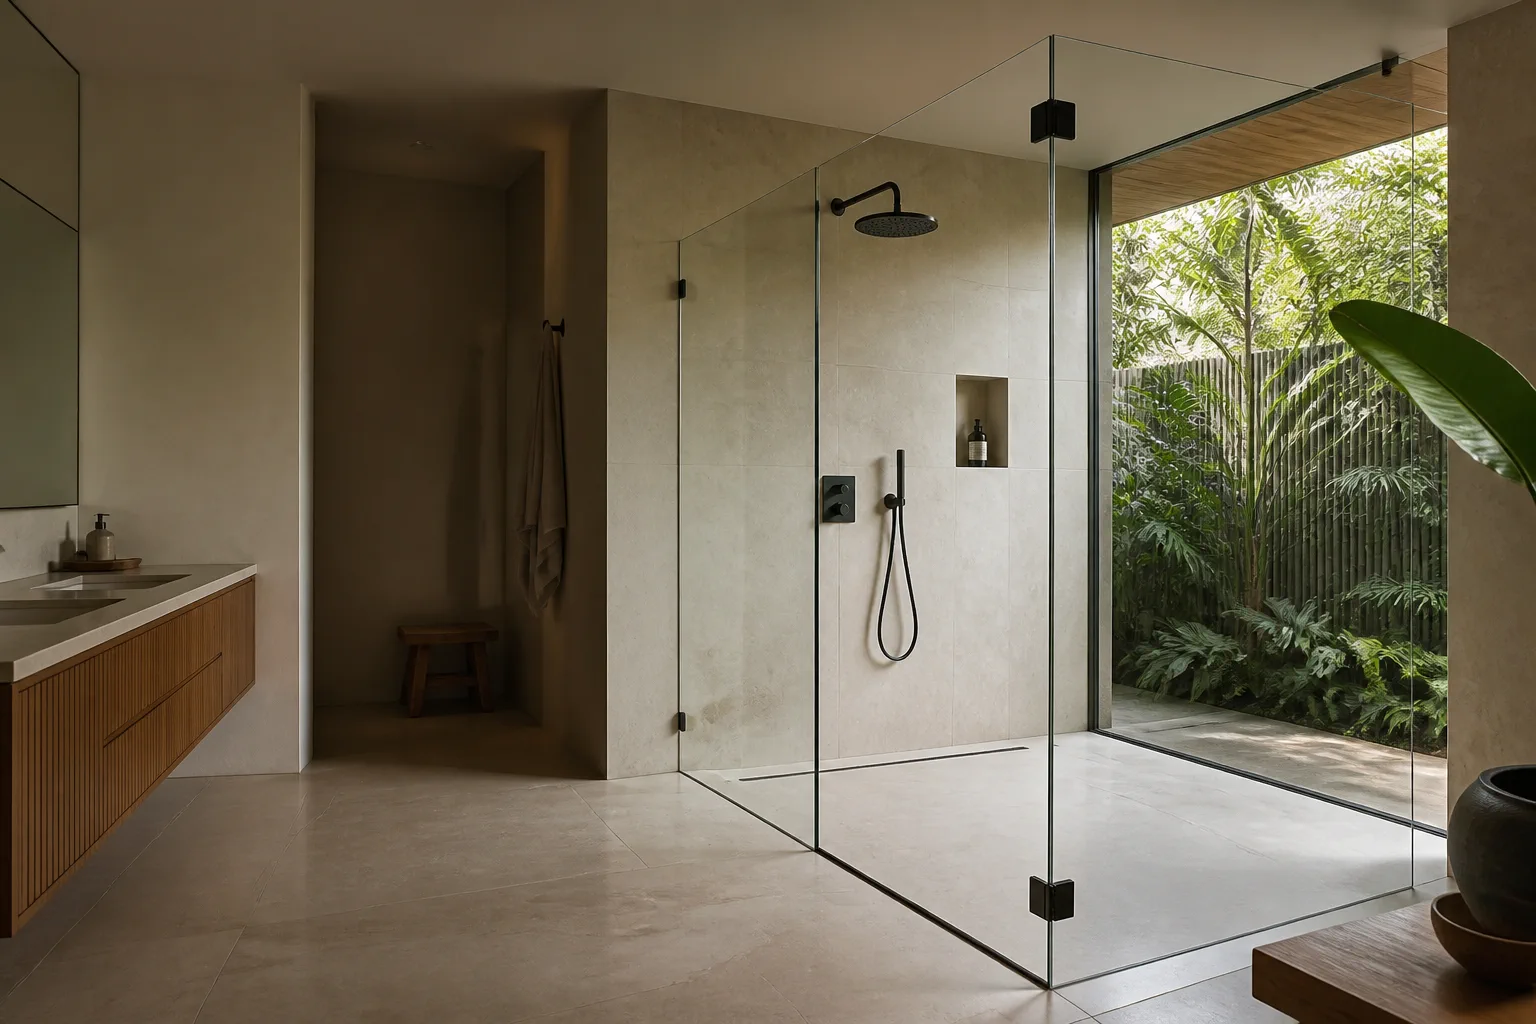
Minimal channels and selected support hardware create a light, uninterrupted glazed look where site conditions permit.
- Hinged, pivot or fixed-screen ideas
- Clear or privacy appearance
- Support bars and channels as required

Jubili Construction
Building the details.
Preparing this service guide
Jubili fabricates made-to-measure glass shower cubicles for different bathroom sizes, layouts and access needs.
 Bathrooms & wet areas
Final sizing is best confirmed after tiles, curb and adjacent finishes are complete and ready for accurate measurement.
Jubili fabricates made-to-measure glass shower cubicles for different bathroom sizes, layouts and access needs.
Door movement, fixed panels, support hardware, glass edges, seals and available clearance all have to work with the finished bathroom. Floor falls, drains and waterproofing remain part of the bathroom construction and cannot be replaced by the enclosure.
Frameless, semi-framed and framed appearances can be considered where the opening and support conditions allow. The safest practical layout is confirmed after inspection and final measurement.
Final measurements are normally taken after wall tiles, floor tiles, curb and nearby finishes are complete, because small dimensional changes can affect the glass and hardware fit.
These are starting points, not fixed packages. Dimensions, configuration, material choices and installation details are developed around the surveyed conditions and agreed scope.
Minimal channels and selected support hardware create a light, uninterrupted glazed look where site conditions permit.
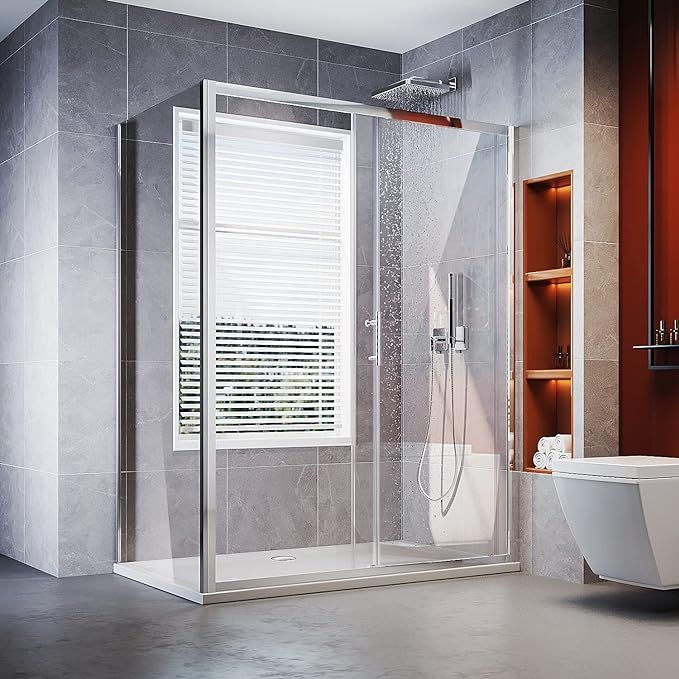
More visible perimeter framing can provide a defined enclosure edge and practical sliding arrangements.
Corner, walk-in and compact configurations planned around sanitary fittings, access and door clearance.
Comparing the intended outcome first makes the eventual specification clearer and more useful.
Door action and glass arrangement should respond to the wet-area condition, available movement and the way the bathroom is used every day.
Check the approach, door swing or slide path and nearby sanitary fittings.
Review falls, kerbs, shower position, splash direction and sealing junctions.
Balance glass selection, hardware, privacy and the surfaces that need regular cleaning.
Offers a direct opening with a clean visual line where there is enough safe swing clearance.
Keeps the door movement within the enclosure footprint and can suit tighter circulation.
Uses a fixed panel and open entry for a simple, spacious appearance where the room layout supports it.
Each line item is considered together. The quotation should record the final selected materials, inclusions, interfaces and responsibilities for the specific site.
Glass is prepared from verified measurements taken against completed tiles, curb and surrounding finishes.
The final glass type and preparation are specified for enclosure use and stated clearly in the quotation.
Hinges, rollers, channels, brackets and support bars are selected around panel size, weight and wall conditions.
Seals and sweeps help control normal spray, while floor fall, drain and waterproofing remain essential bathroom elements.
Swing direction or sliding overlap is checked against toilets, basins, taps, towel rails and user access.
Non-abrasive cleaning, residue removal and periodic checks of seals and hardware support long-term usability.
Good fabrication starts with the right information. Each stage narrows uncertainty before site work begins.

Early inspection and final measurement protect clearances, hardware positions and sealing interfaces that cannot be corrected casually later.
Review the bathroom layout, preferred access, privacy and desired framed or minimal appearance.
Check finished tiles, curb, walls, floor fall, fittings, drain and safe clearances.
Choose hinged, sliding, fixed or corner arrangement and the direction of user movement.
Take final glass and framing dimensions after the relevant finishes are complete.
Order or prepare glass and compatible framing or hardware to the confirmed layout.
Fit, align and seal the enclosure, allow sealant to cure and explain cleaning and care.
Illustrative shower-enclosure visuals from the current site library. The final enclosure is configured specifically for the measured bathroom.
Tiles, curb, floor and adjacent sanitary fittings should be complete before fabrication measurements. Early photos are still useful for comparing possible layouts.
Practical answers to common early-stage questions. Site-specific decisions are confirmed after review.